SCCM Bare Metal OS Deployment (UEFI)
BIOS configuration
All Windows 10 certified machines sold must come with UEFI turned on by default. If you have purchased a machine in the past couple of years UEFI is already enabled unless you specifically turned off UEFI and enabled Legacy mode. If you have previous enabled Legacy mode, you will have to enter the BIOS and re-enable UEFI, enable the UEFI Network Stack, and enable UEFI PXE booting.
IPAM configuration
Within the current IPAM tool you will need to set DHCP options. These options can be applied using MAC Pools or Templates. Please refer to the current IPAM documentation to properly set the DHCP options.
The current MAC Pools/Templates are:
- PXE-WolfTechAD-UEFI-Option
For machines that are not UEFI capable or do not support the UEFI Network Stack, the following legacy BIOS MAC Pools still exist:
- PXE-WolfTechAD-BIOS-Option
Active Directory: Prestaging
Before a computer can be imaged it first must be prestaged in AD. In Active Directory Users and Computer navigate to the OU that computer will reside. Right click on the OU and go to New -> Computer. Fill out the wizard as appropriate. After the new computer object is created you will:
- Right click computer object
- Select Properties
- Select the “Attribute Editor“ tab. If you do not see the Attribute Editor tab, you need to enable Advanced Features by going to View -> Advanced Features
- Select the “netbootguid” attribute, click “Edit”
- Leave “Value format” set to “Hexadecimal”
- Set the value to the computer’s MAC address, prepended with 20 0’s, with no punctuation 00000000000000000000AABBCCDDEEFF
- Click OK, close the Properties window
You can optionally added the computer object to the appropriate software groups.
Wait for DHCP and DNS to update, which on average will be 30 minutes.
Operating System Installation
The baremetal install process is based on the concept of a computer being Unknown. Meaning there is no association between the computers MAC address and a computer object in SCCM.
By default all NCSU level Operating Systems deployments are deployed to the Unknown computer Collection. When you PXE boot as Unknown computer you should see Task Sequences for currently supported Windows desktop and server operating systems.
The fastest, easiest, and most familiar installation method is using PXE. PXE boot by starting your computer and hitting F12. You will be presented with a boot menu. Select the option that refers to PXE or IPv4 or Network Boot. This menu option is vendor specific. If you cannot find the correct option verify PXE booting is enabled in the BIOS and consult the vendor website for more information.
This will boot you in to the SCCM imaging environment. If after downloading the boot image you are rebooted before being given the option to select a Task Sequence, there is no Task Sequence currently available for your computer. For baremetal installs, this means there is an object in SCCM with the MAC address of your current machine. There is a report in SCCM that will allow to search for a MAC address and the associated computer objects.
Upon booting into the SCCM imaging environment you will be presented with the Welcome to the Task Sequence Wizard.
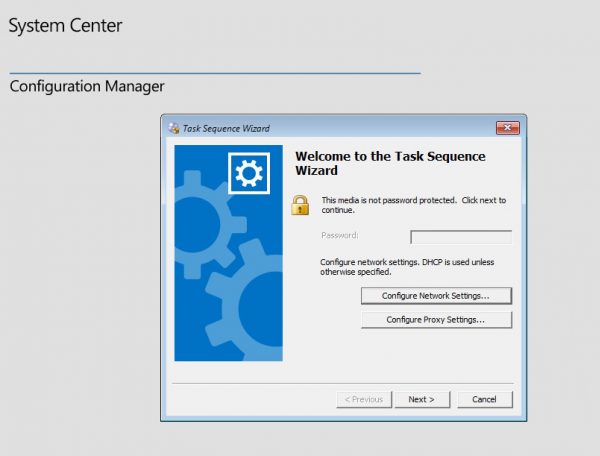
Select Next to view the list of available Task Sequences.

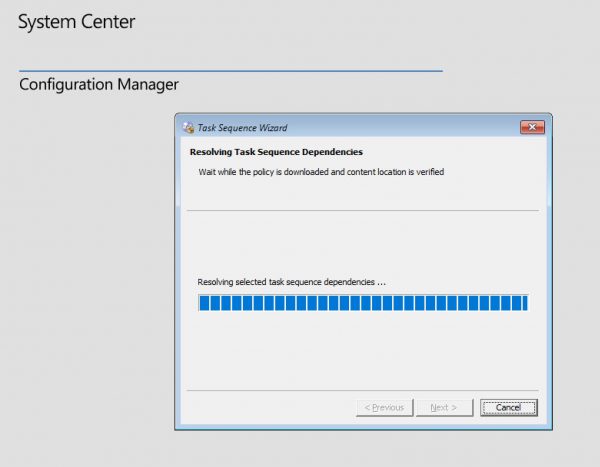
Select the desired Task Sequence and click Next to begin imaging.
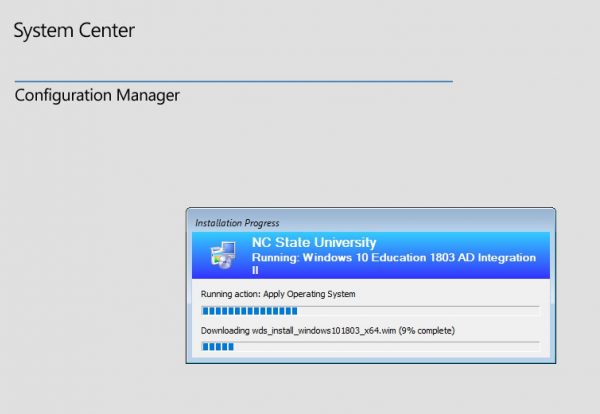
There will be progress bars for the entire Task Sequence as well as for each step of the Task Sequence
If any time there is an error please submit a ticket to activedirectory_imaging@help.ncsu.edu with the name of the computer, IP address, MAC address, which MAC Pool/Template did you use, the name of the Task Sequence, and the error message. If you have the ability to screen cap or take a picture of the error message please attach that to the help ticket.